Cabinet cutout
Thermador Freedom Column freezers come in 18″, 24″, 30″, and 36″ widths. Each requires a precise cutout matching the installation manual exactly. The cutout must be plumb and square — use a level on all edges before sliding the unit in. The floor must support the full weight of the loaded freezer (check your model’s specifications).
Electrical
Dedicated 120V, 15-amp outlet per column. Position the outlet per the installation template — typically low and behind the unit. Do not share the circuit with other columns or appliances — compressor startup draws significant inrush current.
SideTouchControl
If pairing with a refrigerator column, the SideTouchControl panel installs between adjacent columns. Route the communication cable before sliding columns into position — it’s nearly impossible to access afterward. The cable connects to a port on the back or side of each column.
Panel-ready door
Custom cabinetry panels must meet Thermador’s weight and dimension specifications. Overweight panels stress the Freedom Hinge system and cause door alignment issues. Use the panel mounting template provided. After mounting, verify the door closes fully and the gasket seals evenly on all four edges — use the paper-slip test.
Clearances and ventilation
Freedom Column freezers are designed for flush built-in installation with minimal side clearance. The condenser ventilation is front-accessed through the toe-kick grille. Never block this grille. Leave the top clearance specified in the manual for heat dissipation.
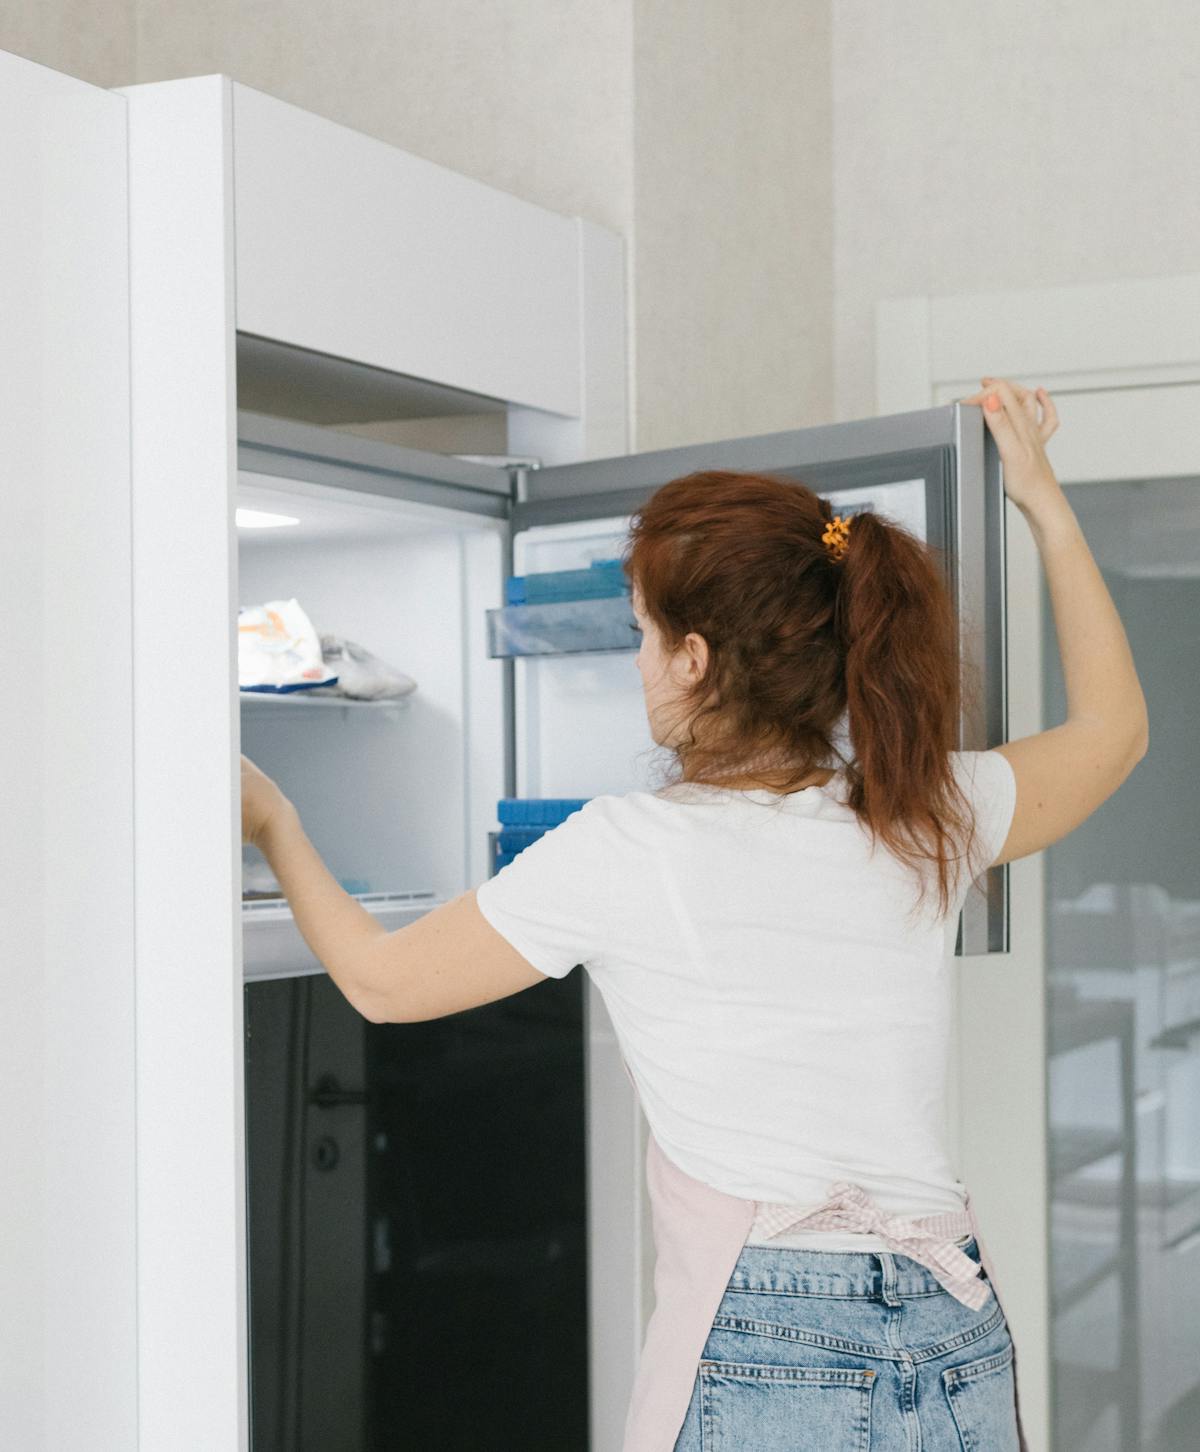
Initial operation
Allow the freezer to cool for 24 hours before loading food. Set temperature to 0°F. Once stable, use SuperFreeze before adding a large quantity of food to prevent temperature rise.
For installation verification, Schedule service online.
Key points
- Genuine Thermador OEM parts used for all repairs
- Certified technicians trained on all Thermador freezer models
- 30-day labor warranty on every repair
- Same-day online booking available 24/7
- Coverage across all 50 US states