
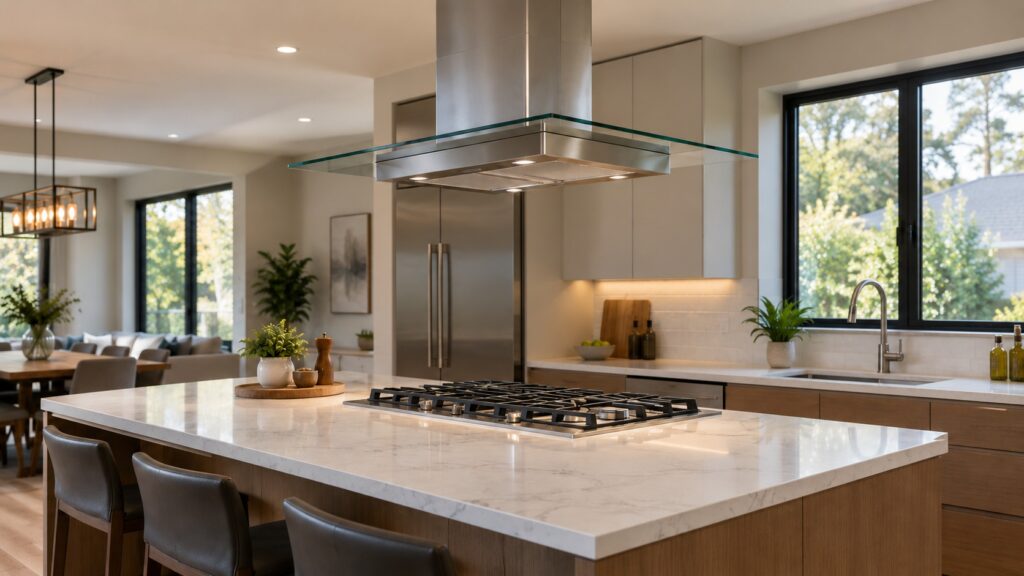
Thermador island hood installation is a ceiling job, not a wall job: the hood hangs over a cooktop in the middle of the room, so it needs structural support in the ceiling, a duct route through the joists to the outside, a power supply at the mount point and a plan for the air the hood removes. Our installation guide says an island hood is ceiling-mounted and requires structural ceiling support and duct routing through ceiling joists, and that the duct, mounting height and electrical details come from the installation manual for your exact model. This guide covers what to settle before the installer arrives.
What is different about installing an island hood?
A wall hood bolts to the wall studs behind the cooktop. An island hood has no wall. It is suspended from the ceiling, and everything it needs has to come down from above: its weight, its duct and its power. Our installation guide lists five hood types, and says an island hood requires structural ceiling support and duct routing through ceiling joists. Our buying guide adds that an island hood needs more airflow than a wall mount because there is no wall to channel steam toward the hood.
That is why island hoods are planned at the rough-in stage, when ceilings are open. Moving a joist or finding the route for a duct after the ceiling is finished costs far more than getting it right early.
Which Thermador models are island hoods?
On our site the Masterpiece VCI248DS is a 48-inch island-mounted hood for kitchen islands, described with 600 CFM and LED lighting, and the HMIB36WS and HMIB42WS are Masterpiece island chimney hoods at 36 and 42 inches. See the VCI248DS, the HMIB36WS and the HMIB42WS model pages.
The HMCN48FS is different. It is a Professional 48-inch liner insert, described as an insert for custom hoods at 1,000 CFM, designed for high-BTU Pro Grand ranges. A liner insert goes inside a custom enclosure built by your cabinet maker, so the planning shifts from a finished hood to a framed structure that has to carry and surround the insert. If you choose one for an island, work from its installation manual and involve your cabinet maker and installer early.
What does the ceiling need?
Support first. Our guide says the ceiling needs structural support, and the details come from the manual for your model. Do not assume a plain drywall ceiling can carry a hood; the installer or a contractor should confirm what is above, and add blocking or framing if needed. Decide where the island will sit, then locate the joists and plan the hood’s centerline over the cooktop.
Then the duct route. The duct has to run from the hood up through the ceiling and out to the exterior, and our guide says to use the duct diameter Thermador specifies for your model, never smaller, to minimize bends and to prefer round duct to rectangular. It also says to finish with a wall or roof cap that has a backdraft damper, and never to duct into an attic, a crawlspace or another room. Every elbow costs airflow. Our vent hood CFM guide explains how the airflow rating, the duct run and the cooktop fit together.
How high should an island hood hang?
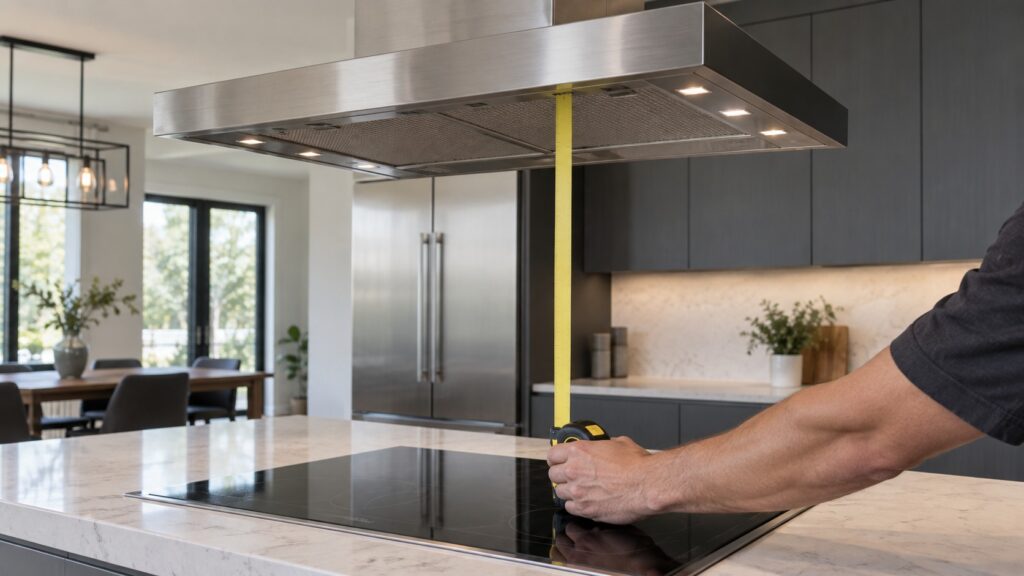
As high as the installation manual for your exact model says, and no higher or lower. Our installation guide notes that a hood mounted too low is a head-strike hazard and one mounted too high extracts less efficiently, and that the correct height is in the manual. We do not publish a single number because heights differ by hood and by cooktop fuel type. Measure from the finished cooktop surface, and settle the height before the ceiling support is built so the hood and the duct meet where they should.
Think about sight lines too. An island hood is visible from every side, so a hood that is too low blocks the view across the room, and one that is too high spoils the look. Mock it up with a temporary frame if you can.
What about power and make-up air?
The installation guide says most hoods need a 120V dedicated circuit with the junction box typically in the hood body or chimney, and that a remote blower may need an additional circuit at the blower. Because an island hood is far from a wall, plan the cable run through the ceiling before it closes. The installer or an electrician should confirm the circuit for your model.
A powerful hood also pulls air out of the house, and the house has to replace it. Our make-up air guide explains why many codes require a planned supply above a certain airflow, and says your local building department is the only reliable source for the threshold. Ask before the walls are finished, not after.
Who should install it?
A qualified installer, ideally with a contractor who can handle the framing, the duct and the electrical work together. We are an independent repair company, not an installer, and we do not mount or duct hoods. What we see is the aftermath: hoods that are weak or noisy because the duct is too small or has too many bends. Our vent hood noise guide explains how airflow restriction produces fan noise.
After installation, check that the hood is level and secure, that the filters seat properly, that the light works and that the duct cap opens when the fan runs. If something is wrong, Thermador vent hood repair starts with a diagnostic visit, and we confirm the estimate before any work begins. Do not climb up to adjust the hood, remove the canopy or open the blower housing yourself.