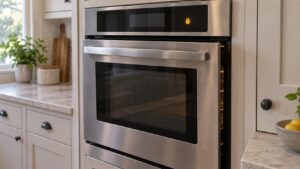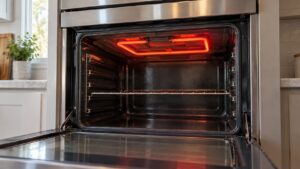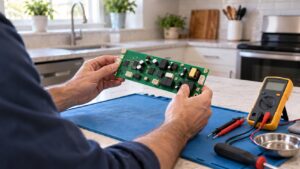
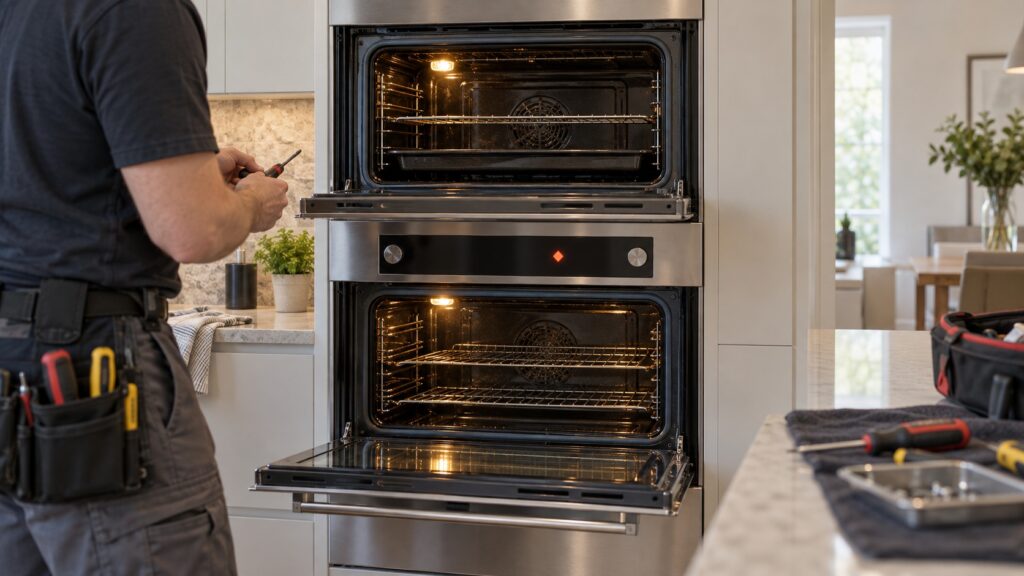
A Thermador oven E115 is a temperature sensor short in the heater circuit, and on a single wall oven that is the whole message: one cavity, one probe, one code. On a double or triple oven the same failure is reported differently, because the board has to name which cavity it happened in. That naming is a simple rule, and once you know it a screen full of three-digit numbers turns into an address.
The rule is the hundreds digit. Codes in the one hundreds belong to the upper cavity; codes in the one hundred twenties belong to the lower one. Here is the map this site publishes.
How do I read a Thermador oven E115 against E104 and E124?
Read the code in two halves. The last digit pair says what went wrong with the probe, and the leading digits say where. E101 and E126 are both open circuits; E104 and E124 are both shorts. The only difference inside each pair is the cavity. E115 has no cavity to name, which is why it appears on single ovens and on the models where one control board serves one oven.
The reason this is worth spelling out is that a triple oven stack can show a code on a panel that sits above all three doors. The display is shared. Without the map, people open the door they used last, find a cavity that looks fine, and conclude the appliance is confused. It is not. It named a cavity you were not thinking about, and the confusion belongs to the numbering rather than to the oven.
Why does an open circuit mean something different from a short?
The sensor is a resistance probe. An open circuit is a broken path: a snapped wire, a connector pulled off its pin, a probe whose element has cracked. The board reads a resistance so high it could only mean an impossible temperature, and it stops trusting the cavity. A short is the reverse: two conductors touching, insulation rubbed through, or moisture bridging a connector. The resistance collapses and the board reads a temperature far above anything the cavity has ever reached.
The practical difference is where the fault usually is. Opens are most often at the connector behind the cavity wall or at the point where the harness passes through the rear of the cabinet, and they frequently appear right after an appliance has been pulled out and pushed back in. Shorts are most often at the probe itself or at a spot where the harness has been pressed against a hot bracket for years. Neither one is a temperature problem. Both are a wiring problem that reports itself in degrees.
Which cavity is the upper one on a triple oven?
On a Thermador triple stack, the board counts from the top, and the smallest cavity is frequently the one with the extra function — a speed oven or a steam oven above two conventional cavities. That upper unit often has its own board and its own code set, which is why the upper cavity is also the one most likely to report a fan fault such as E106 alongside a sensor fault.
Before assuming anything, do one thing: run each cavity separately at a moderate bake setting and watch which one raises the code. Thirty minutes of that is worth more than any table, including the one above. It also answers a question a technician will ask, which is whether the fault follows the cavity or follows the panel.
What can I check without pulling the oven out of the cabinet?
Four checks, all of them from the front.
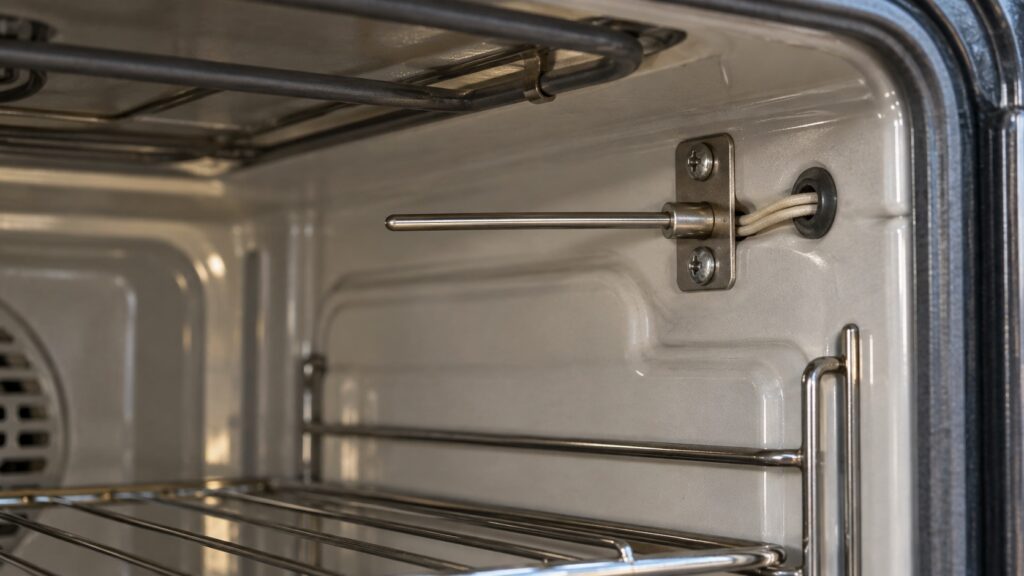
- Look at the probe. It is a thin stainless rod in an upper corner of the cavity, held by a bracket with two screws. Look for it bent out of position, pushed flat against the wall by a roasting pan, or with baked-on residue around its base.
- Note when the code appears. At power-up means an open circuit that is there all the time. Twenty minutes into a bake means a connection that opens as the cabinet expands with heat.
- Compare cavities. One cavity faulting while the other holds temperature correctly points at that cavity’s probe or harness, not at the shared board.
- Put an oven thermometer on the middle rack of the cavity that still works, to confirm it is genuinely accurate before you rely on it for a week.
🔴 Stop before the rear panel. The sensor harness runs alongside element terminals at line voltage, and on a built-in oven reaching that harness means sliding a heavy appliance out of a cabinet it is screwed into. Cut the circuit at the panel and let the cavity cool completely before anyone touches anything, and leave the appliance in place.
Can I keep using the other cavity in the meantime?
Usually yes, and on a double oven that is what most households end up doing for the days before a visit. A cavity with a coded sensor should be left alone entirely, because the board is either refusing to heat it or heating it against a reading it does not believe. The other cavity has its own probe, its own element and its own relays, and a fault addressed to one cavity does not migrate to the other.
Two conditions apply. Confirm the healthy cavity with a thermometer rather than trusting the display, and do not use any cycle that locks the door across the whole appliance, such as self-clean, until the coded cavity has been repaired. A cleaning cycle drives the cabinet far hotter than baking does, and it is the worst moment to discover that a harness fault was thermal.
When is it the sensor, and when is it something else?
If the cavity is heating to the wrong temperature but nothing is coded, that is calibration or a door seal rather than this page. If the cavity is not heating at all and no code shows, start with a Thermador wall oven that will not heat. If the oven is heating when nobody asked, that is a relay rather than a probe, and it is covered in our guide to E118 and E218. A sensor code that keeps returning after a new probe has been fitted usually means the harness, not the part.
We are an independent repair company, not a factory service arm. Pricing starts from a diagnostic visit and we confirm the estimate before any work begins. Thermador oven repair covers sensors, harnesses, fans and control boards, and you can schedule a visit online. The full list of codes for this appliance is at Thermador oven error codes.